Smart Thermostat Installation Techniques: A Comprehensive Guide
Installing a smart thermostat is a great way to upgrade your home's climate control and energy efficiency. With the right techniques, you can ensure a successful DIY installation and enjoy the benefits of remote temperature control, energy savings, and smart home integration.
Understanding Smart Thermostat Installation Techniques
Before we dive into the installation process, it's essential to understand the basics of smart thermostats and how they work. Smart thermostats use advanced sensors and algorithms to learn your temperature preferences and adjust the temperature accordingly. They can also connect to your home network, allowing you to control the temperature remotely using a smartphone or voice assistant.
Step 1: Check Compatibility
Before installing a smart thermostat, make sure it's compatible with your heating and cooling system. Check the manufacturer's website for a list of compatible systems, or consult with a professional if you're unsure. Some smart thermostats require a C-wire for continuous power, while others can use adapter kits or work without one.
Before starting the installation process, turn off the power at the breaker box to ensure your safety and prevent any electrical shocks. Verify that the power is off using a non-contact voltage tester.
Step 3: Remove the Old Thermostat
Once the power is off, remove the old thermostat from the wall. Take note of the wiring configuration and remove any remaining screws or clips. Set aside the old thermostat and any removed components for proper disposal.
Step 4: Identify and Label Wires
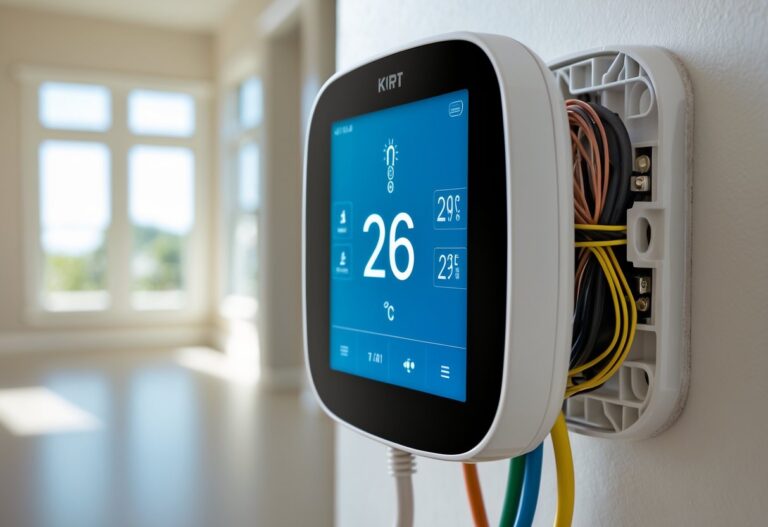
Identify the different wires and label them accordingly. Most smart thermostats use a similar wiring configuration, but it's essential to double-check the manufacturer's instructions for specific requirements. Common wires include:

Moving forward, it's essential to keep these visual contexts in mind when discussing Smart Thermostat Installation Techniques.
- R (red) - Power wire
- W (white) - Wire from the heating system
- C (green) - Common wire
- Y (yellow) - Wire from the cooling system
- Tr (brown) - Heat anticipator wire
Connect the new thermostat to the wiring configuration, following the manufacturer's instructions. Make sure to secure the thermostat to the wall using screws or clips provided.
Step 6: Configure the Thermostat
Configure the thermostat according to the manufacturer's instructions, which may include programming schedules, setting up Wi-Fi connectivity, and calibrating the temperature sensors. Some smart thermostats may also require a software update or calibration process.
Step 7: Test the Thermostat

Test the thermostat to ensure it's working correctly. Check the temperature settings, heating and cooling modes, and remote control functionality. Make any necessary adjustments or troubleshooting steps as needed.
Smart Thermostat Installation Tips and Tricks
- Use a voltage tester to ensure the power is off before starting the installation process.
- Label wires carefully to avoid confusion and ensure correct wiring.
- Consult the manufacturer's instructions for specific installation requirements.
- Test the thermostat thoroughly to ensure it's working correctly.
- Consider hiring a professional if you're unsure about any part of the installation process.
Common Smart Thermostat Installation Issues
- C-wire issues: Some smart thermostats require a C-wire for continuous power. If your system doesn't have a C-wire, consider using an adapter kit or consulting a professional.
- Wiring configuration: Ensure the wiring configuration matches the manufacturer's instructions.
- Power issues: Verify the power is off at the breaker box and check for any voltage issues.
- Software or calibration issues: Consult the manufacturer's instructions or contact their support team for assistance.
Conclusion
Installing a smart thermostat is a great way to upgrade your home's climate control and energy efficiency. By following these smart thermostat installation techniques, you can ensure a successful DIY installation and enjoy the benefits of remote temperature control, energy savings, and smart home integration. Remember to consult the manufacturer's instructions, use a voltage tester, and test the thermostat thoroughly to ensure it's working correctly.


")