Writing a Check at a Store: A Comprehensive Guide
Writing a check at a store is a common practice that allows customers to make payments using funds from their checking account. The process of writing a check is straightforward, but it requires careful attention to detail to ensure that the check is filled out correctly and processed smoothly. In this article, we will provide a step-by-step guide on how to write a check at a store, along with tips and best practices to help you avoid common mistakes.
Why Learn How to Write a Check?
Though digital payment methods have become increasingly popular, writing a check at a store is still a widely accepted form of payment. Knowing how to write a check is an important banking skill that can help you avoid costly mistakes and ensure that your transactions are processed correctly. In addition, learning how to write a check can also help you develop your financial literacy and responsibility.
Before you can write a check at a store, you need to carry a valid government-issued identification card and your checkbook with you. Most stores require photo ID when paying by check to confirm your identity and protect against fraud. Bring your checkbook and a valid ID with you when planning to make a purchase using a check.
- Carry a Valid ID: A government-issued identification card is required to confirm your identity and protect against fraud.
- Bring Your Checkbook: Make sure you have your checkbook with you to pay by check.

How to Write a Check at a Store?
Writing a check at a store is a simple process that involves filling out a few key fields. Here's a step-by-step guide on how to write a check:
Step 1: Date the Check
Write the date in the upper right-hand corner of the check. You can use either numerals or words, such as Dec. 1, 2025, or 12/1/2025. Make sure to postdate the check if you want the recipient to wait before depositing it.
Step 2: Name the Payee
Write the name of the payee, also known as the recipient, on the line provided. Make sure to spell the name correctly and use the full name, rather than just initials.
Step 3: Write the Amount
Step 4: Add an Optional Memo
Many checks have a memo line where you can add a brief description of the payment. This can be helpful for the payee to understand the purpose of the payment.
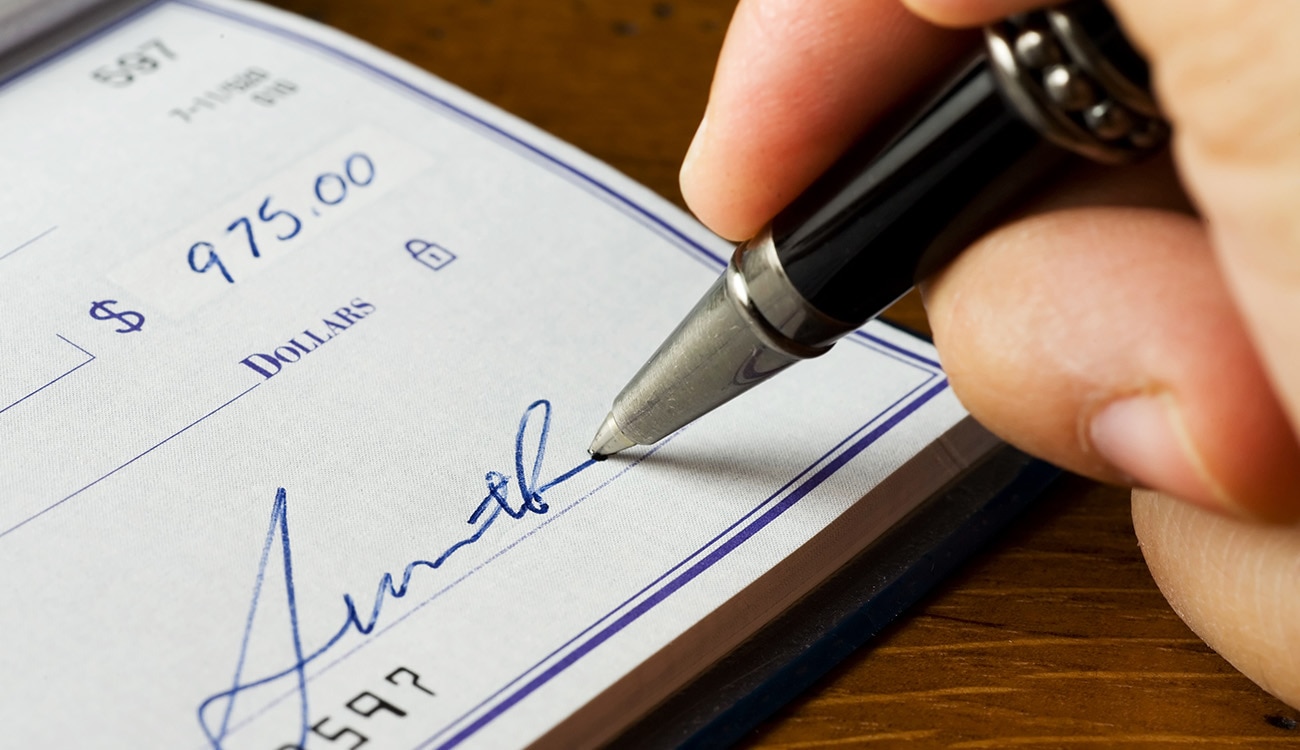
Sign your name on the line provided. Make sure your signature matches the name written on the check, and use a consistent signature that matches the one on file with your bank.

This particular example perfectly highlights why Writing A Check At A Store is so captivating.
Common Mistakes to Avoid
While writing a check at a store is a straightforward process, there are several common mistakes to avoid. Here are some tips to help you fill out a check correctly:
- Always write the date correctly and use the correct format.
- Make sure to spell the name of the payee correctly and use the full name, rather than just initials.
- Write the amount in both numbers and words, and make sure to include the decimal point and cents, if applicable.
- Add an optional memo, but make sure it is brief and clear.
- Sign your name on the line provided, and make sure it matches the name written on the check.
Conclusion
Writing a check at a store is a common practice that requires careful attention to detail. By following the steps outlined in this article, you can ensure that your transactions are processed correctly and avoid costly mistakes. Remember to carry a valid ID and your checkbook with you, and take the time to fill out the check correctly. With practice, writing a check at a store will become second nature.


")


 - wikiHow")
