How to Tie a Tie for a Wedding: A Comprehensive Guide
Tying a tie is an art that requires practice, patience, and a bit of finesse. Whether you're the groom, a groomsman, or a guest, mastering the art of tying a tie can make a significant impact on your overall look. In this article, we'll show you how to tie a tie for a wedding, with a focus on the most common and stylish knots.The Importance of Choosing the Right Tie
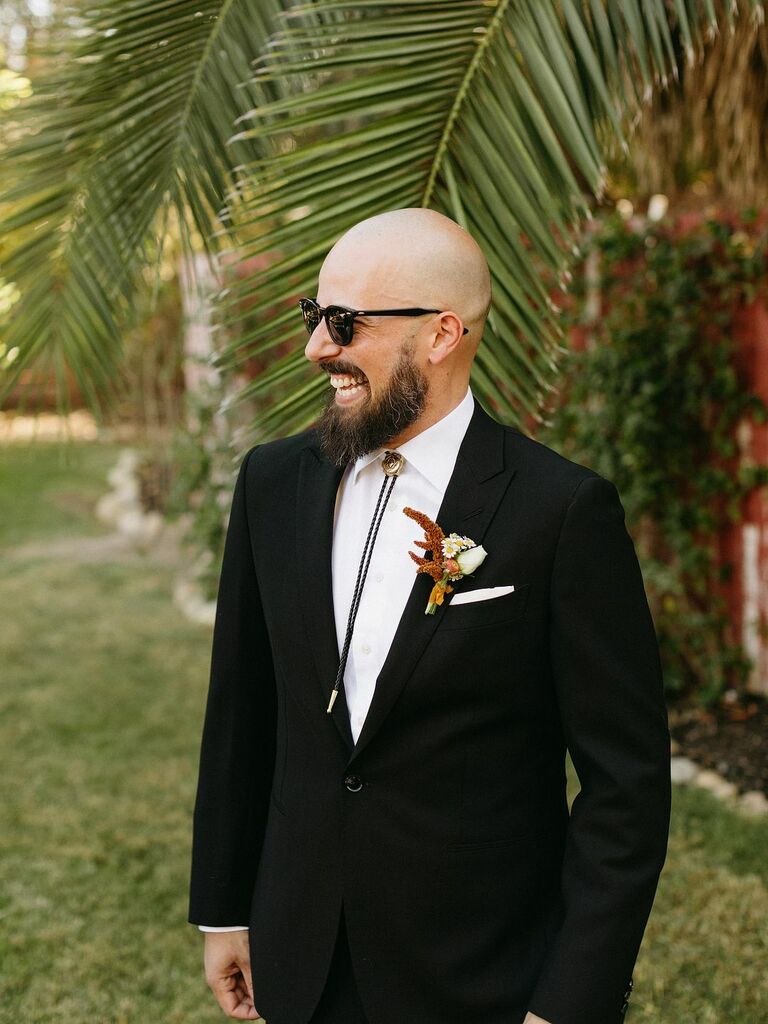
Before we dive into the art of tying a tie, it's essential to understand the significance of choosing the right tie for a wedding. With a plethora of options available, from classic silks to modern patterns, selecting the perfect tie can be a daunting task. However, with a few simple considerations, you can find the ideal tie that complements your wedding attire.The Most Common Tying Methods
There are several tying methods to master, but do not worry, we will cover the basics and a few advanced knots as well. Here are the most common tying methods:1. The Windsor Knot
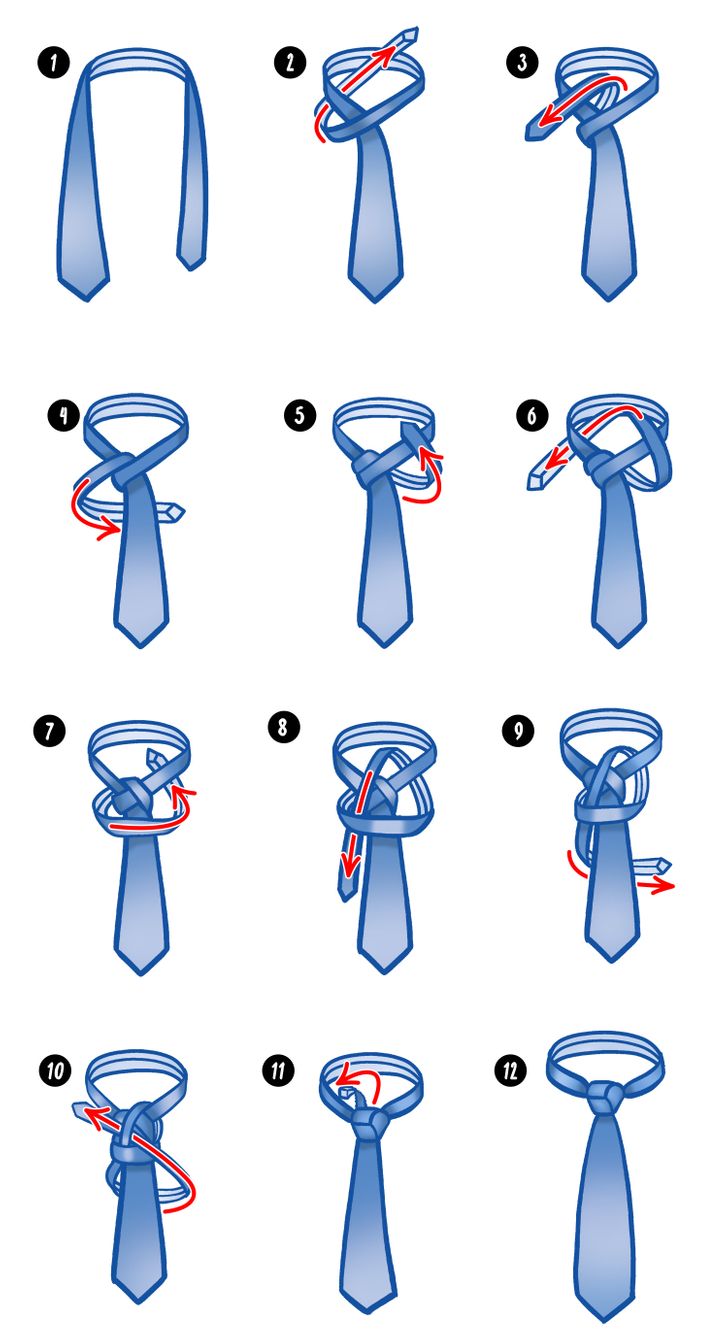
The Windsor knot is a classic and timeless knot that suits most faces. Here's a step-by-step guide on how to tie a Windsor knot:- Begin by facing a mirror and standing up straight.
- Place the tie around your neck with the wide end on your left side and the narrow end on your right side.
- Cross the wide end over the narrow end, so that it forms an "X" shape.
- Take the wide end and pass it behind the narrow end.
- Bring the wide end up and over the knot, so that it forms a loop.
- Pass the wide end through the loop from underneath.
- Bring the wide end down and through the loop again, so that it forms a second loop.
- Pass the wide end through the second loop from underneath.
- Pull the wide end gently to tighten the knot.
2. The Four-in-Hand Knot
The Four-in-Hand knot is a simple and versatile knot that suits most occasions. Here's a step-by-step guide on how to tie a Four-in-Hand knot:- Begin by facing a mirror and standing up straight.
- Place the tie around your neck with the wide end on your left side and the narrow end on your right side.
- Cross the wide end over the narrow end, so that it forms an "X" shape.
- Take the wide end and pass it behind the narrow end.
- Bring the wide end up and over the knot, so that it forms a loop.
- Pass the wide end through the loop from underneath.
- Bring the wide end down and through the loop again, so that it forms a second loop.
- Pass the wide end through the second loop from underneath.
- Pull the wide end gently to tighten the knot.
Advanced Tying Methods
For those who want to take their tying skills to the next level, here are a few advanced tying methods:1. The Eldredge Knot
2. The Bow Tie
The bow tie is a classic and elegant knot that suits most formal occasions. Here's a step-by-step guide on how to tie a bow tie:- Begin by facing a mirror and standing up straight.
- Place the tie around your neck with the wide end on your left side and the narrow end on your right side.
- Cross the wide end over the narrow end, so that it forms an "X" shape.
- Take the wide end and pass it behind the narrow end.
- Bring the wide end up and over the knot, so that it forms a loop.
- Pass the wide end through the loop from underneath.
- Bring the wide end down and through the loop again, so that it forms a second loop.
- Pass the wide end through the second loop from underneath.
- Take the narrow end and pass it through the loop from underneath.
- Bring the narrow end up and over the knot, so that it forms a second loop.
- Pass the narrow end through the second loop from underneath.
- Pull the wide end gently to tighten the knot.


