Netgear Router Setup for SSID Configuration: A Step-by-Step Guide
In this article, we will walk you through the process of setting up your Netgear router for SSID configuration, ensuring a secure and seamless internet connection for all your devices.
Understanding SSID Configuration
A SSID, or Service Set Identifier, is the name of your wireless network. Configuring your SSID is essential for creating a unique and secure network identity. In this guide, we will cover the steps to configure your Netgear router for SSID configuration, including setting up a new SSID, changing the default SSID, and configuring network settings.
Step 1: Accessing the Netgear Router's Web-Based Setup Page
To access the Netgear router's web-based setup page, follow these steps:
- Connect your computer or mobile device to the Netgear router's network.
- Open a web browser and type the router's IP address, which is usually 192.168.1.1.
- Log in to the router using the admin username and password, which can be found on the router's label or in the documentation.
Step 2: Configuring the SSID
Once you have accessed the Netgear router's web-based setup page, follow these steps to configure the SSID:
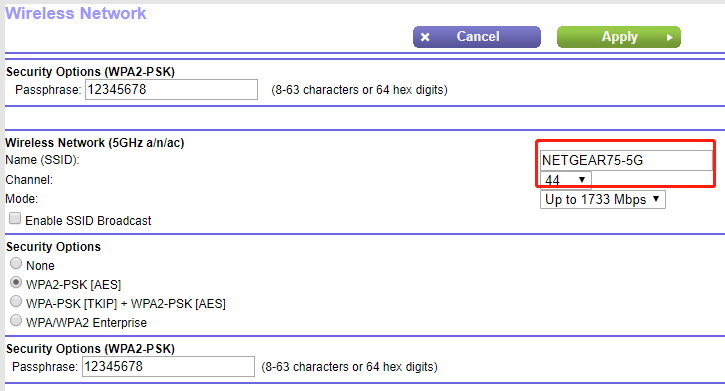
- Go to the "Wireless" or "Wi-Fi" tab in the admin panel.
- Click on the "SSID" or "Network Name" field and enter a unique name for your wireless network.
- Click on the "Apply" or "Save" button to save the changes.
Changing the default SSID is an essential step in securing your wireless network. Follow these steps to change the default SSID:
- Log in to the Netgear router's web-based setup page.
- Go to the "Wireless" or "Wi-Fi" tab in the admin panel.
- Click on the "SSID" or "Network Name" field and enter a new, unique name for your wireless network.
- Click on the "Apply" or "Save" button to save the changes.
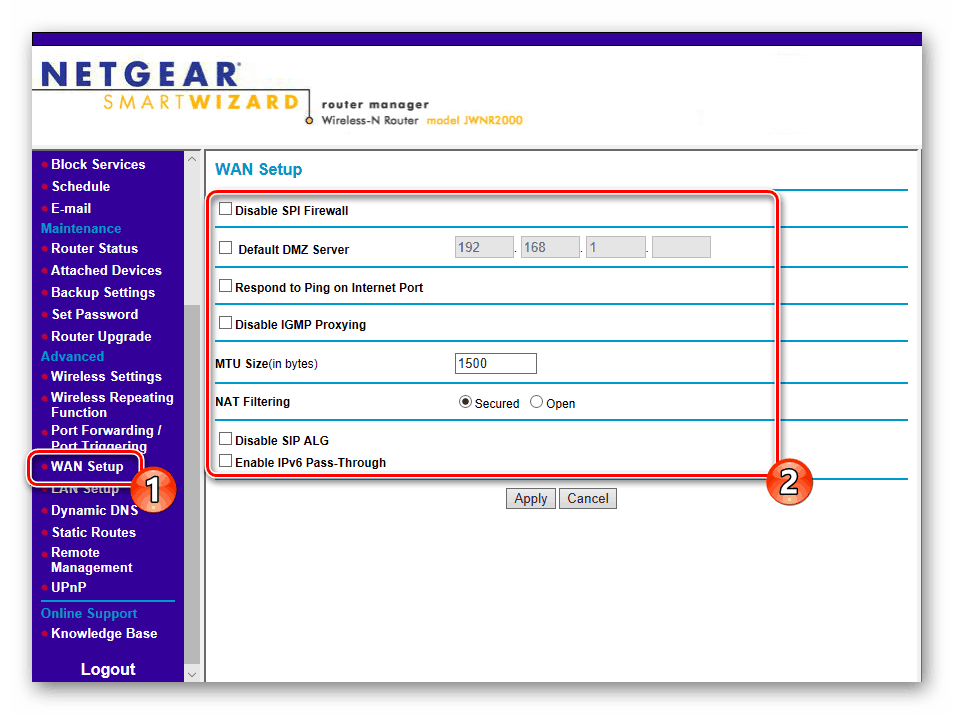
Step 4: Configuring Network Settings
Configuring network settings is crucial for creating a secure and seamless internet connection. Follow these steps to configure network settings:
- Log in to the Netgear router's web-based setup page.
- Go to the "Network" or "Advanced" tab in the admin panel.
- Configure the network settings, including the IP address, subnet mask, and DNS settings.
- Click on the "Apply" or "Save" button to save the changes.
Step 5: Securing Your Wireless Network
Securing your wireless network is essential for preventing unauthorized access. Follow these steps to secure your wireless network:
This particular example perfectly highlights why Netgear Router Setup For Ssid Configuration is so captivating.
- Log in to the Netgear router's web-based setup page.
- Go to the "Wireless" or "Wi-Fi" tab in the admin panel.
- Configure the wireless settings, including the encryption method, password, and authentication settings.
- Click on the "Apply" or "Save" button to save the changes.
Conclusion
Configuring your Netgear router for SSID configuration is a crucial step in creating a secure and seamless internet connection. By following the steps outlined in this guide, you can set up a new SSID, change the default SSID, and configure network settings to create a unique and secure network identity.
Additional Tips
Here are some additional tips to help you secure your wireless network:
- Use a strong password for your wireless network.
- Enable WPA2-PSK encryption for secure wireless communication.
- Change the default SSID and password to prevent unauthorized access.
- Regularly update your router's firmware to ensure security patches and bug fixes.
Final Thoughts
Configuring your Netgear router for SSID configuration is an essential step in creating a secure and seamless internet connection. By following the steps outlined in this guide, you can set up a new SSID, change the default SSID, and configure network settings to create a unique and secure network identity.


