Writing a Check with a Check Holder: A Step-by-Step Guide
Check is a widely used way of payment, but filling it out correctly can be confusing. In this article, we will guide you through the process of writing a check with a check holder in a step-by-step manner.
What is a Check Holder?
A check holder is an individual or entity that holds a checking account at a bank and receives payments made by check. This person or entity is often referred to as the recipient or payee of the check.
Step 1: Checking the Check Holder's Information
Before filling out a check, you need to ensure that you have the correct information about the person or entity receiving the check. This includes their name, address, and account details. The check holder should be aware of the following information:
- Account holder's name and address
- Check number and date
- Routing number and account number
Step 2: Filling in the Date
The first step in filling out a check is to date it. Write the current date on the top right-hand corner of the check. This ensures that the check cannot be cashed or deposited after the stated date.
Step 3: Writing the Payee's Name
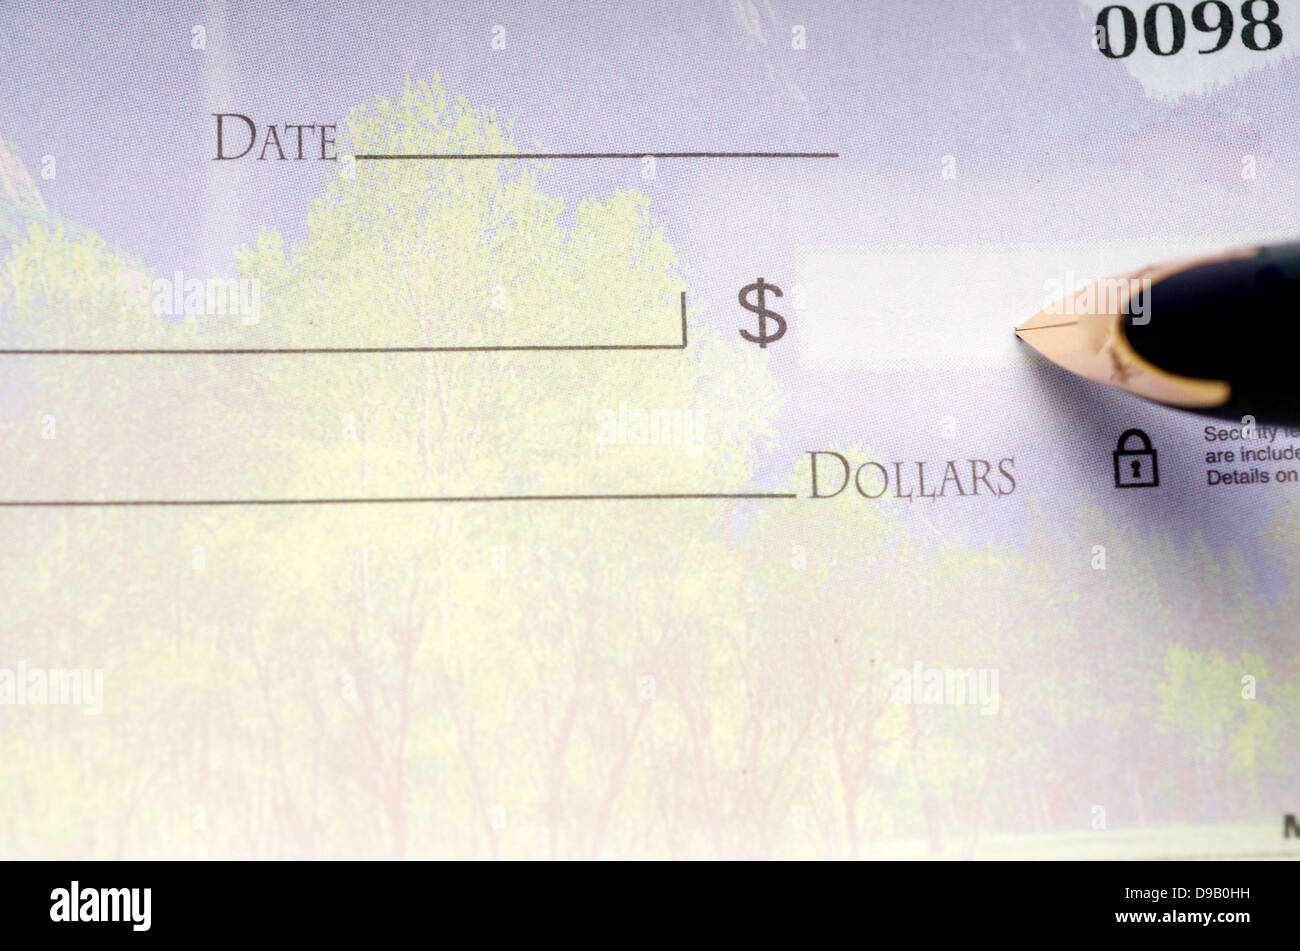
As we can see from the illustration, Writing A Check With A Check Holder has many fascinating aspects to explore.
Next, you need to write the payee's name on the check. This is the name of the person or entity receiving the payment. Make sure to spell their name correctly and use the full name.
Step 4: Filling out the Memo Field
Below the payee's name, fill out the memo field with a brief description of the payment. This helps the payee understand the purpose of the payment.
Step 5: Writing the Amount
Step 6: Signing the Check
Finally, you need to sign the check in the bottom right-hand corner. This signature must match the signature on the account holder's checkbook or deposit slip. Make sure to sign the check in the presence of the check holder, if required.
What to do with the Check After Writing It
After writing the check, you should:
- Keep a record of the check, including the date, amount, and payee's name.
- Present the check to the payee for deposit or cashing.
- Verify that the payee has signed the back of the check to endorse it.

Benefits of Writing a Check with a Check Holder
Writing a check with a check holder has several benefits, including:
- Convenience: Checks are widely accepted and can be used to make payments at various locations.
- Security: Checks are a secure way to make payments, reducing the risk of online fraud.
- Flexibility: Checks can be used to make payments for various purposes, including rent, bills, and expenses.
Conclusion
Writing a check with a check holder is a simple process that requires attention to detail. By following the steps outlined in this article, you can fill out a check accurately and efficiently. Remember to keep a record of the check and present it to the payee for deposit or cashing.
Additional Tips
Here are some additional tips to keep in mind when writing a check with a check holder:
- Always use a check that is printed with your bank's logo.
- Verify the payee's address and account details to ensure accuracy.
- Include the check number and date to avoid any issues.
- Keep a copy of the check for your records.
- Verify that the payee has signed the back of the check to endorse it.


 - wikiHow")


![How to write a check in 6 easy steps [+ Visuals] | PayPal US - Writing A Check With A Check Holder](https://m.media-amazon.com/images/I/91OmuITvaCL._AC_SL1500_.jpg "How to write a check in 6 easy steps [+ Visuals] | PayPal US")


 - wikiHow")

