D H Wireless Router Setup: A Comprehensive Guide
Setting up a wireless router can be a daunting task, especially for those who are not tech-savvy. However, with the right guidance, it can be a breeze. In this article, we will walk you through the D H wireless router setup process, ensuring a seamless connection and a secure home network.
Why is D H Wireless Router Setup Important?
A D H wireless router is an essential device that allows multiple devices to connect to the internet simultaneously. Proper setup and configuration are crucial to ensure a stable and secure connection. Without proper setup, you may experience connectivity issues, slow internet speeds, or even security breaches.
Equipment Needed for D H Wireless Router Setup
- D H wireless router
- Internet modem
- Computer or laptop
- Ethernet cable
Step 1: Unplug the Modem
Before starting the setup process, unplug the modem from the power outlet. This will ensure that the modem is not connected to the internet during the setup process.
Connect one end of the Ethernet cable to the modem and the other end to the router's Internet port. This will establish a physical connection between the modem and the router.

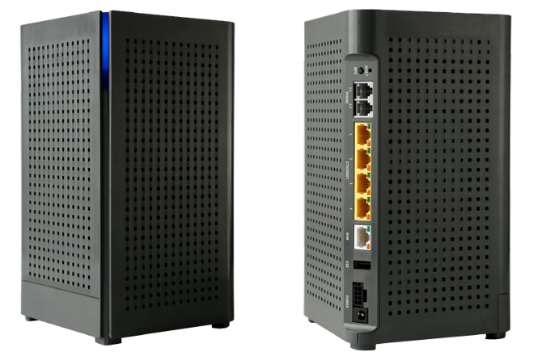
Furthermore, visual representations like the one above help us fully grasp the concept of D H Wireless Router Setup.
Step 3: Connect the Router to the Computer
Connect one end of the Ethernet cable to the router's LAN port and the other end to the computer's Ethernet port. This will allow you to access the router's web interface from the computer.
Power on the router and wait for it to boot up. The power light on the router will indicate that it is on and functioning properly.
Step 5: Access the Router's Web Interface
Open a web browser on the computer and type the router's IP address in the address bar. The default IP address for most routers is 192.168.0.1 or 192.168.1.1. Log in to the router's web interface using the default username and password.
Step 6: Configure the Router
Once logged in, navigate to the settings menu and configure the router as desired. This includes setting up the Wi-Fi network, configuring the DHCP server, and setting up any other advanced settings.
Step 7: Save Changes and Reboot
Save any changes made to the router's settings and reboot the router. This will ensure that the changes take effect and the router is functioning properly.
Troubleshooting Tips
If you encounter any issues during the setup process, refer to the troubleshooting tips below:
- Check the router's power light to ensure it is on and functioning properly.
- Check the Ethernet cables to ensure they are securely connected to the router and computer.
- Check the modem's lights to ensure it is functioning properly and connected to the internet.
- Check the router's IP address to ensure it is correct and matches the one configured on the computer.
Conclusion
D H wireless router setup is a crucial process that requires attention to detail and patience. By following the steps outlined in this article, you can ensure a seamless connection and a secure home network. Remember to troubleshoot any issues that arise during the setup process, and don't hesitate to seek help if needed. With the right guidance, you can set up your D H wireless router like a pro!
Additional Resources
For more information on D H wireless router setup, refer to the following resources:
- D H Wireless Router Manual
- D H Wireless Router Quick Setup Guide
- D H Wireless Router Troubleshooting Guide


 - HP")


 - wikiHow")