How to Configure G Network on Laptop: A Step-by-Step Guide
In today's digital age, having a stable and efficient network connection is crucial for productivity and online activities. If you're looking to configure a G network on your laptop, you've come to the right place. In this article, we'll guide you through the process, highlighting the essential steps and considerations to ensure a seamless network experience.
Understanding G Network Basics
Before we dive into the configuration process, it's essential to understand what G network is all about. G network, also known as Gigabit Ethernet, is a high-speed network standard that offers faster data transfer rates compared to traditional Ethernet connections. With G network, you can enjoy speeds of up to 1000 Mbps, making it an excellent choice for online gamers, video streamers, and heavy Internet users.
Prerequisites for Configuring G Network on Laptop
Before you start configuring your G network on your laptop, make sure you meet the following prerequisites:
As we can see from the illustration, How To Configure G Network On Laptop has many fascinating aspects to explore.
Step 1: Connect Your Laptop to the Router
Begin by connecting your laptop to the router using an Ethernet cable. Locate the Ethernet port on your laptop, which is usually on the back or the sides, and connect it to the matching port on your router. Make sure the cable is securely inserted into both ports.
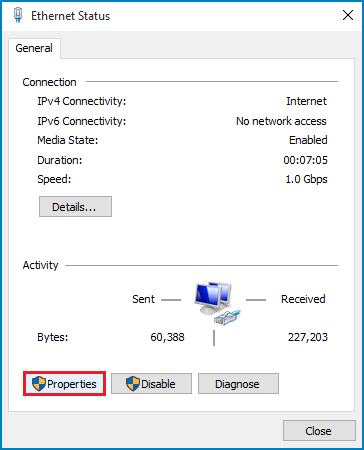
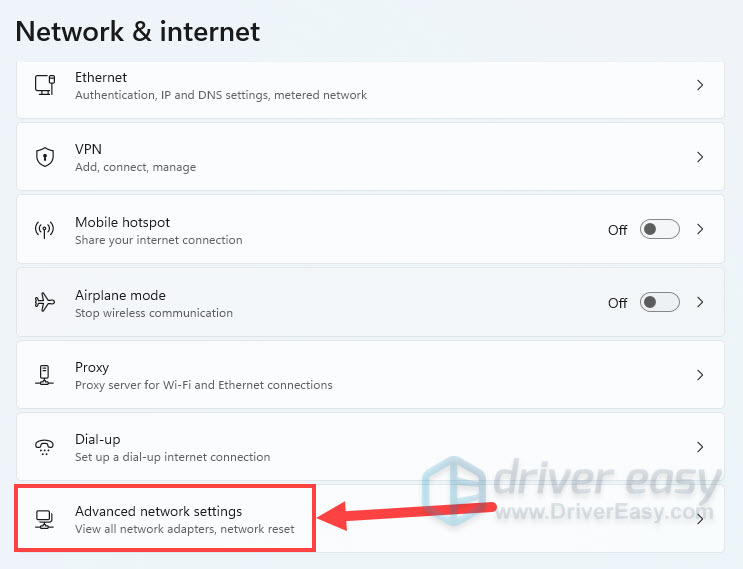
Step 2: Configure Your Laptop's Network Settings
Open your laptop's network settings (network and sharing center) and select the G network option. You may need to create a new connection or edit an existing one. Set the IP configuration as static, and add the IPv4 address and default gateway. Repeat the same process with any other devices you want to connect to the G network.
Step 3: Configure Your Router's Network Settings
Sign into your router's settings using the default IP address (usually http://192.168.1.1) and navigate to the advanced settings. Enable the G network option and set the IP address, subnet mask, and default gateway accordingly. Save the changes and restart your router.
Step 4: Test Your G Network Connection
Once you've configured your laptop and router, test your G network connection by checking your Internet speed and performance. You can use online speed testing tools to ensure that your connection is stable and fast.
Conclusion

Additional Tips and Considerations
- Make sure your router is positioned in a central location to ensure optimal signal strength.
- Use a high-quality Ethernet cable to minimize signal degradation and improve speed.
- Regularly update your router's firmware to ensure you have the latest security patches and features.
Conclusion
Configuring a G network on your laptop is a straightforward process, but it does require some technical expertise. By following the steps outlined in this article and considering the additional tips and best practices, you'll be able to set up a fast and reliable G network connection on your laptop.


")


 - Scanning Documents and Photos")
![[Wireless Router] How do I enter my ASUS router's setting page using ... - How To Configure G Network On Laptop](https://i.ytimg.com/vi/kOLeiXpA-5I/maxresdefault.jpg "[Wireless Router] How do I enter my ASUS router's setting page using ...")


.png "How to Reconnect Your Printer to a Wireless Network (Windows)")


")
