Setup VPN with TunnelBear: A Step-by-Step Guide
What is TunnelBear VPN?
TunnelBear is a public VPN service based in Toronto, Canada, founded in 2011 by Daniel Kaldor and Ryan Dochuk. In March 2018, TunnelBear was acquired by McAfee, a well-known cybersecurity company. TunnelBear offers a free VPN service with a data limit of 2GB per month, as well as a premium subscription with unlimited data and additional features. The service has gained a reputation for being easy to use and reliable, making it an excellent choice for beginners and experienced users alike.
Benefits of Using TunnelBear VPN
- Secure your internet connection and protect your personal data from cyber threats
- Access blocked websites and content from around the world
- Protect your online identity and maintain anonymity
- Enjoy fast and stable connections with TunnelBear's robust server network
- Get 24/7 customer support and a user-friendly interface
Setup VPN with TunnelBear: A Step-by-Step Guide
Moving forward, it's essential to keep these visual contexts in mind when discussing Setup Vpn With Tunnelbear.
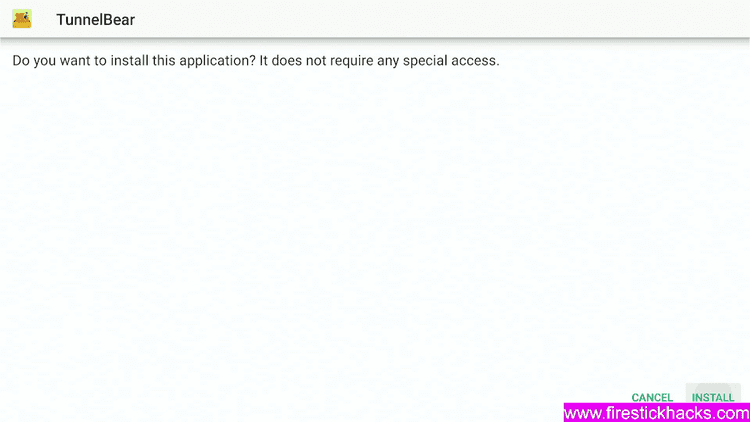
Step 1: Download the TunnelBear App
To get started, download the TunnelBear app from the official website or through the app store on your device. Choose the version that suits your operating system, whether it's Windows, macOS, iOS, or Android.
Step 2: Install and Launch the App
Once downloaded, install the app on your device and launch it. You'll be prompted to create an account or log in if you already have one.
Step 3: Choose Your Server Location
Select a server location from the list provided. You can choose a server based on your location or opt for a specific region to access geo-restricted content.
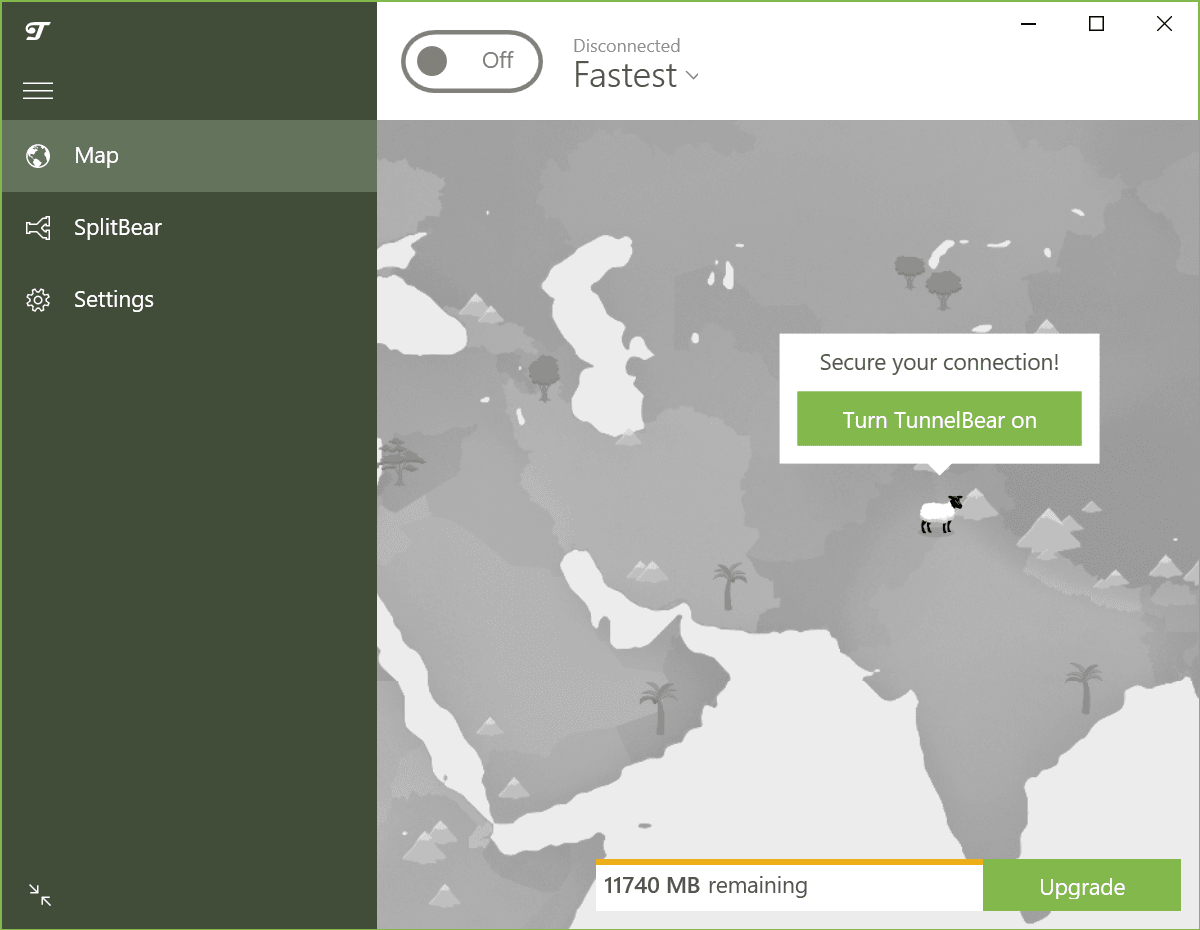
Step 4: Connect to the VPN Server
Click the "Connect" button to establish a secure connection to the VPN server. You'll see a bear icon popping up, indicating that you're now connected to the VPN.
Step 5: Verify Your Connection
Check your internet connection to ensure it's secure and encrypted. You can do this by visiting a website that checks your IP address and location.

Step 6: Customize Your VPN Settings
TunnelBear offers several customization options to suit your needs. You can choose from different VPN protocols, such as OpenVPN, IKEv2, or PPTP, and adjust settings like kill switch, DNS leak protection, and data encryption.
Conclusion
Setting up VPN with TunnelBear is a straightforward process that ensures your online activities remain secure and private. With its user-friendly interface and robust features, TunnelBear is an excellent choice for individuals and businesses looking to protect their internet connection. By following the steps outlined in this guide, you can enjoy a safer and more private online experience with TunnelBear VPN.
Frequently Asked Questions
Q: What is TunnelBear VPN? A: TunnelBear is a public VPN service that offers a secure and private internet connection. Q: How do I download the TunnelBear app? A: You can download the TunnelBear app from the official website or through the app store on your device. Q: What are the benefits of using TunnelBear VPN? A: TunnelBear VPN offers several benefits, including secure connections, access to blocked websites, protection of online identity, fast and stable connections, and 24/7 customer support. Q: How do I connect to the VPN server? A: To connect to the VPN server, select a server location, click the "Connect" button, and verify your connection by checking your internet connection. Q: Can I customize my VPN settings? A: Yes, TunnelBear offers several customization options, including VPN protocols, kill switch, DNS leak protection, and data encryption.


 | PCMag")


 - TechRepublic")


 - ITSC")


